How to Build a 60V Lithium Battery Pack for Your DIY Projects: A Step-by-Step Guide
Are you looking for a way to power your DIY projects with a reliable and efficient lithium battery pack? If so, you’ve come to the right place! Building a 60V lithium battery pack is a great way to power your projects and can be done with minimal effort.
In this step-by-step guide, we’ll walk you through the process of building a 60V lithium battery pack. We’ll cover the materials you’ll need, the tools you’ll need, and the steps you’ll need to take to build your own battery pack. So, let’s get started!
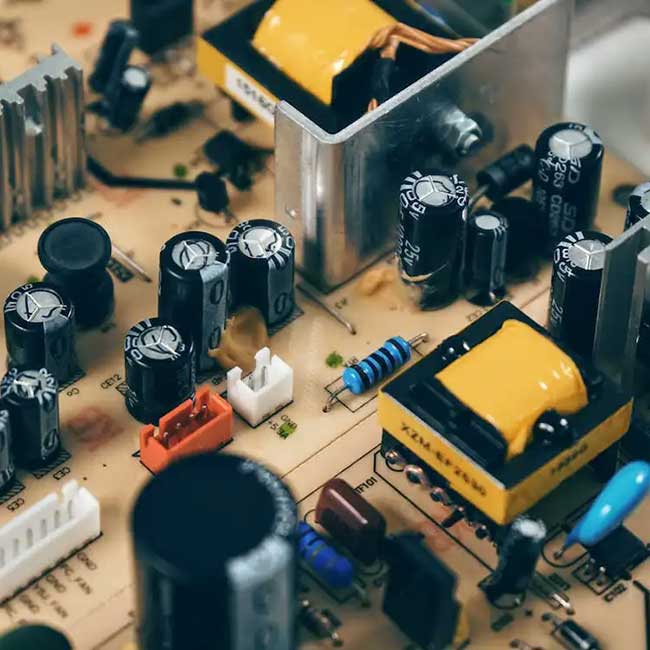
First, you’ll need to gather the materials you’ll need to build your battery pack. You’ll need a battery holder, a battery charger, a power supply, and a set of lithium-ion cells. You’ll also need some wire, solder, and heat shrink tubing.
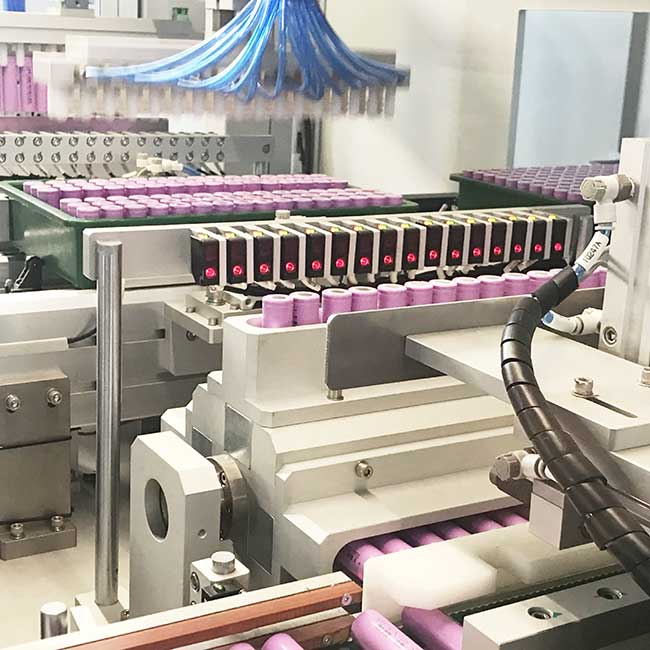
Next, you’ll need to assemble the battery holder. This is where you’ll place the cells and connect them together. Make sure to use the correct size of cells for your battery holder.
Once the battery holder is assembled, you’ll need to connect the cells together. Start by connecting the positive terminal of one cell to the negative terminal of the next cell. Continue this process until all of the cells are connected.
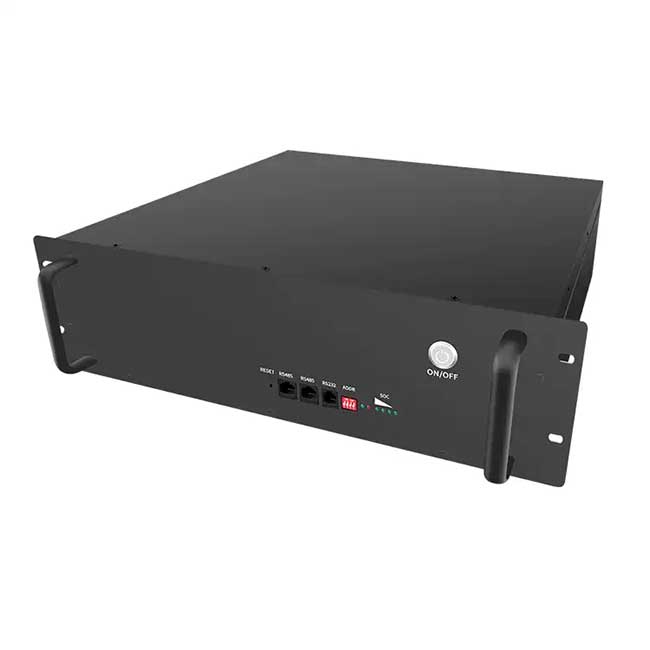
Now, you’ll need to connect the battery charger to the battery holder. This will allow you to charge the battery pack when needed. Make sure to use the correct type of charger for your battery pack.
Finally, you’ll need to connect the power supply to the battery holder. This will provide the power needed to run your projects. Make sure to use the correct type of power supply for your battery pack.
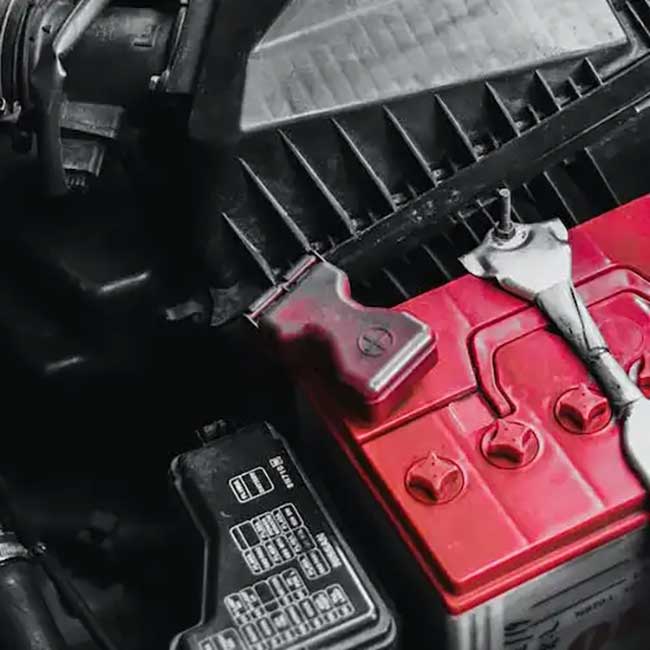
Congratulations! You’ve now built your own 60V lithium battery pack. With this battery pack, you’ll be able to power your projects with reliable and efficient power. So, get out there and start building!

 Once the battery holder is assembled, you’ll need to connect the cells together. Start by connecting the positive terminal of one cell to the negative terminal of the next cell. Continue this process until all of the cells are connected.
Now, you’ll need to connect the battery charger to the battery holder. This will allow you to charge the battery pack when needed. Make sure to use the correct type of charger for your battery pack.
Finally, you’ll need to connect the power supply to the battery holder. This will provide the power needed to run your projects. Make sure to use the correct type of power supply for your battery pack.
Once the battery holder is assembled, you’ll need to connect the cells together. Start by connecting the positive terminal of one cell to the negative terminal of the next cell. Continue this process until all of the cells are connected.
Now, you’ll need to connect the battery charger to the battery holder. This will allow you to charge the battery pack when needed. Make sure to use the correct type of charger for your battery pack.
Finally, you’ll need to connect the power supply to the battery holder. This will provide the power needed to run your projects. Make sure to use the correct type of power supply for your battery pack.