How to Connect a Solar Street Light Battery for Maximum Efficiency: A Step-by-Step Guide
1. Gather the necessary materials. You will need a solar street light battery, a solar panel, a charge controller, and a mounting bracket.
2. Connect the solar panel to the charge controller. Make sure the positive and negative terminals are connected correctly.
3. Connect the charge controller to the battery. Again, make sure the positive and negative terminals are connected correctly.
4. Mount the battery to the mounting bracket. Make sure the battery is securely fastened to the bracket.
5. Connect the solar panel to the battery. Make sure the positive and negative terminals are connected correctly.
6. Connect the charge controller to the solar panel. Make sure the positive and negative terminals are connected correctly.
7. Turn on the charge controller and check the voltage. Make sure the voltage is within the acceptable range for your battery.
8. Monitor the battery’s charge level. Make sure the battery is not overcharging or undercharging.
| Products | Voltage | Capacity | Application |
| 11.1V Lithium battery pack | 11.1V | 10Ah-300Ah | Electric bicycle |
| 12.8V Lithium battery pack | 12.8V | 10Ah-300Ah | Electricity / Equipment / Car start |
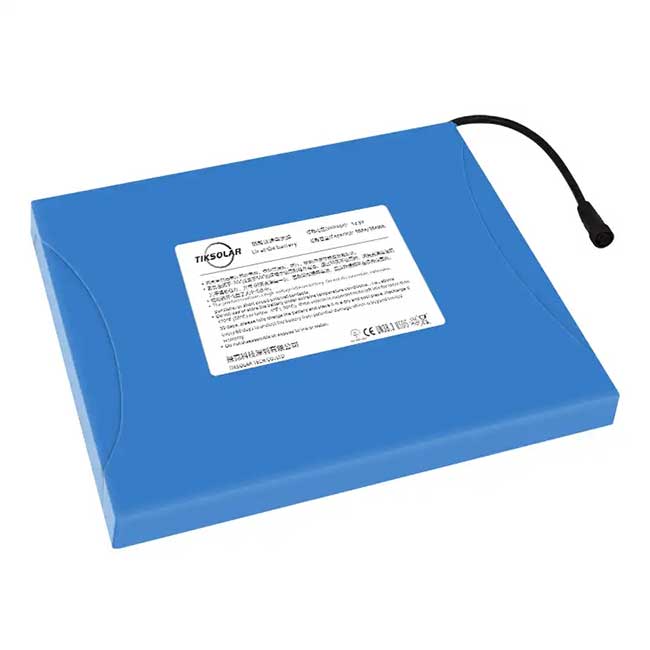
| 22.2V Lithium battery pack | 22.2V | 50~300Ah | Lamp / Light / Insecticidal lamp / Solar light |
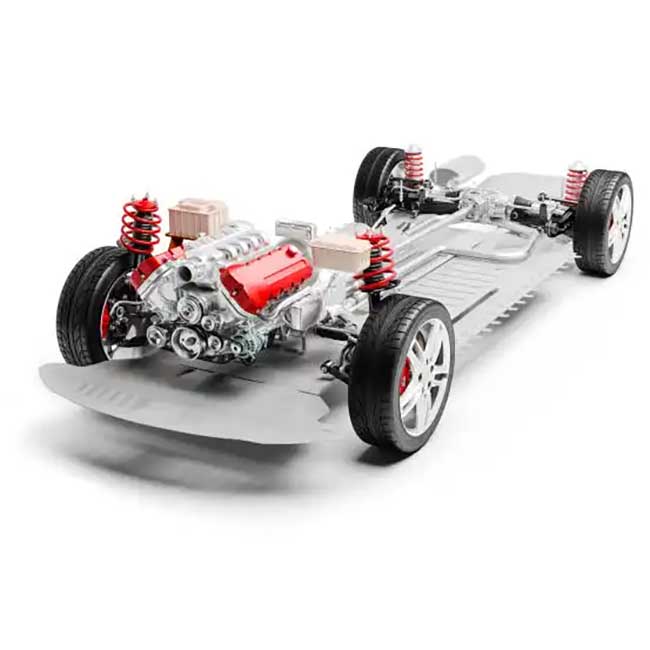
| 25.6V Lithium battery pack | 25.6V | 100~400Ah | Car / Power Equipment / Touring car / Stored energy |
9. Adjust the charge controller settings as needed. Make sure the settings are optimized for maximum efficiency.
10. Enjoy your solar street light battery! With proper maintenance and care, your battery should provide reliable power for years to come.